Update #4
Originally posted at https://nathanmacadam.dev/
Getting back in the university groove has, to put it lightly, destroyed our previous sprint and blog post schedules! We’re planning on getting that back on track full stop by moving our blog posts to every Friday, but for know you’ll just have to settle for our vaguely late development log #4. Hooray!
Characters
Ethan here! This week I’ve created one of the main boss assets for our demo, the Frog Warlock along with two humble small town mayor NPCs. The Frog Warlock was a fun character to create, with unique shapes like his cloak, head, and hood that I took a different approach to than usual. Normally I’d make a human character using planes but this time I more or less sculpted the shapes from subdivided cubes. For this model it was really efficient and helped me get the right rounded shapes.

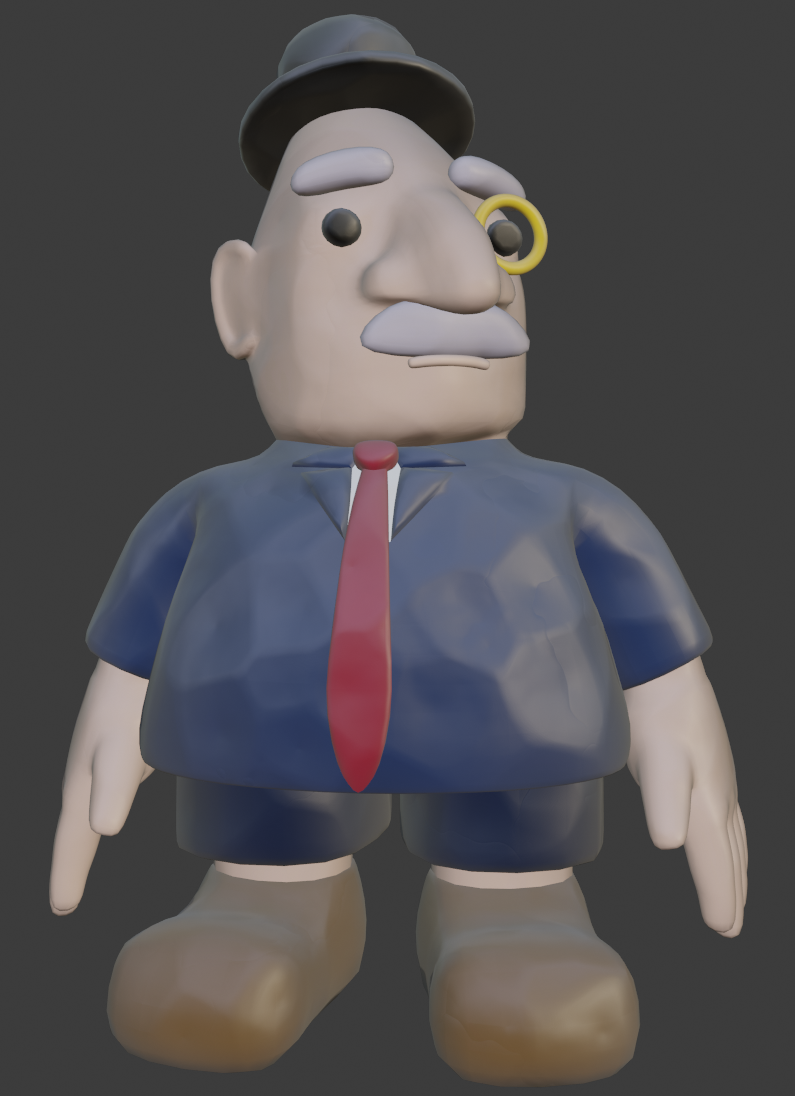
The 1st Mayor was a fun design that required some relatively complex details for this game. I’ll be the first to admit that I’m not great at creating noses, ears, or clothing. Everything I work is pretty low detail in the grand scheme of character modeling so these things require more thought and time than something like the frog. Overall, I think it turned out alright for what I had in mind. Colors are still a work in progress though…
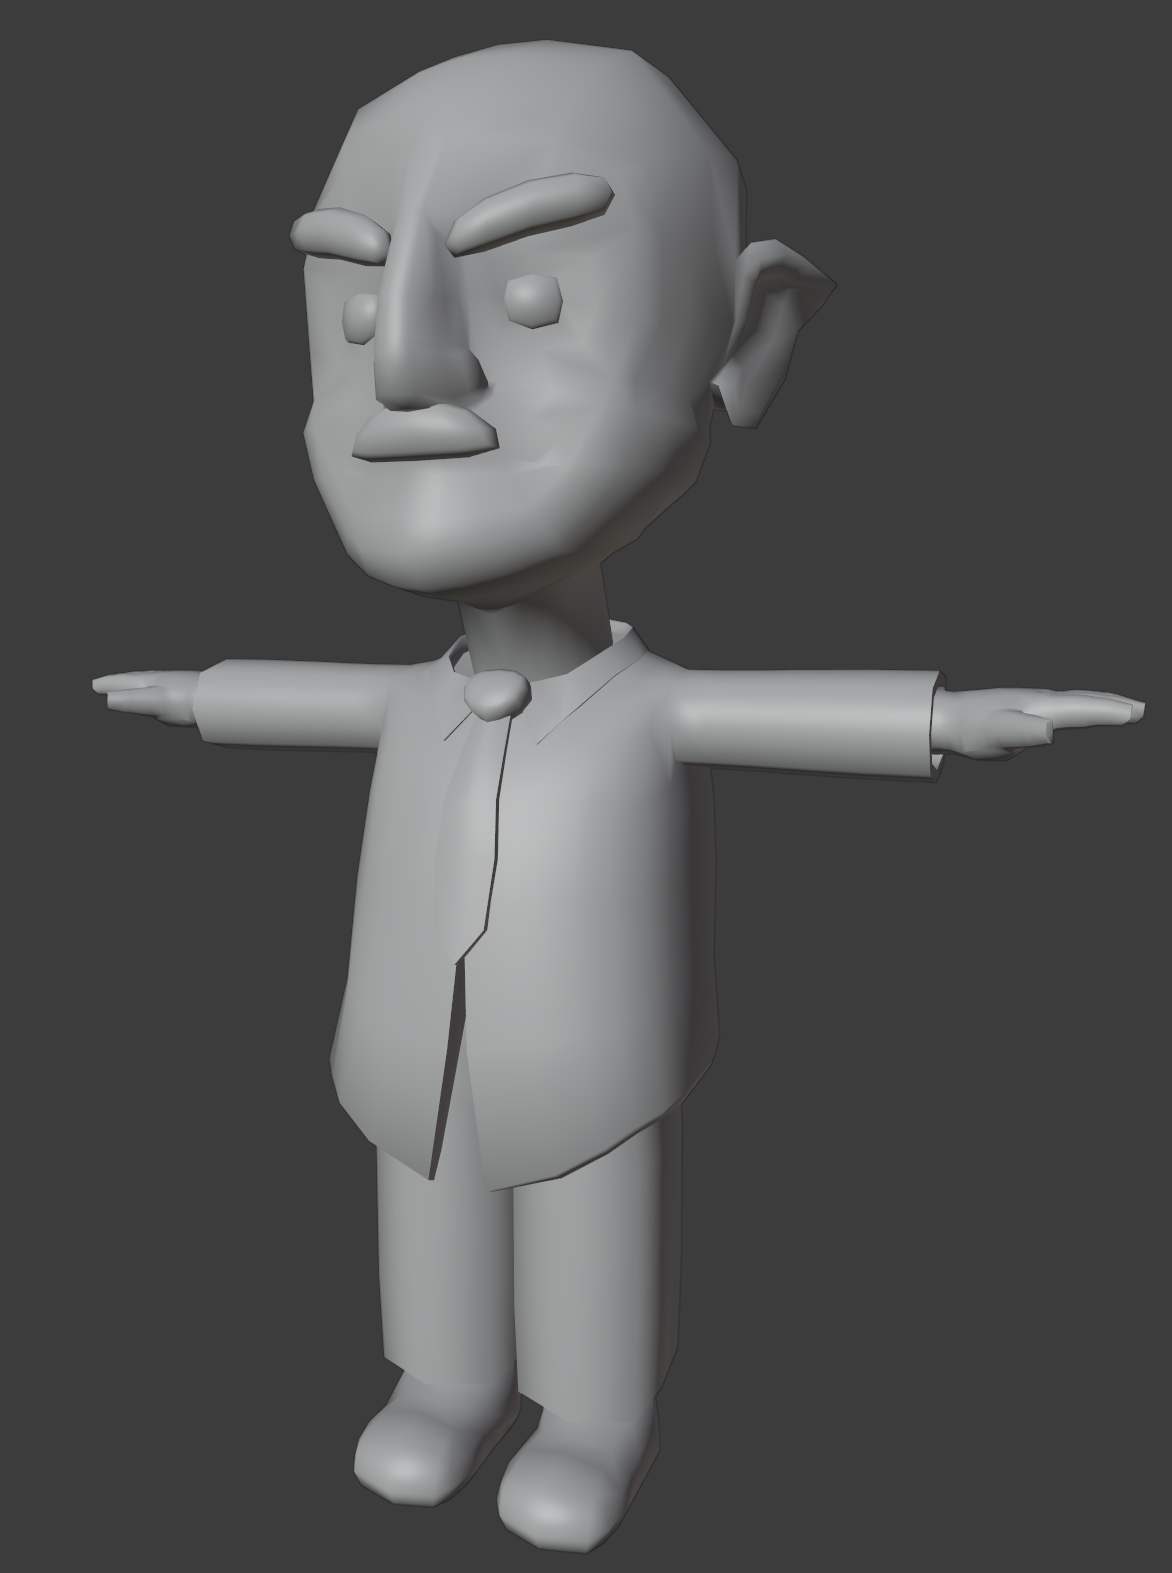
The 2nd Mayor is a little less complete right now, since I’m still working on the rig and materials. The mesh itself is pretty similar to the first one only with a different head and proportions.
Levels
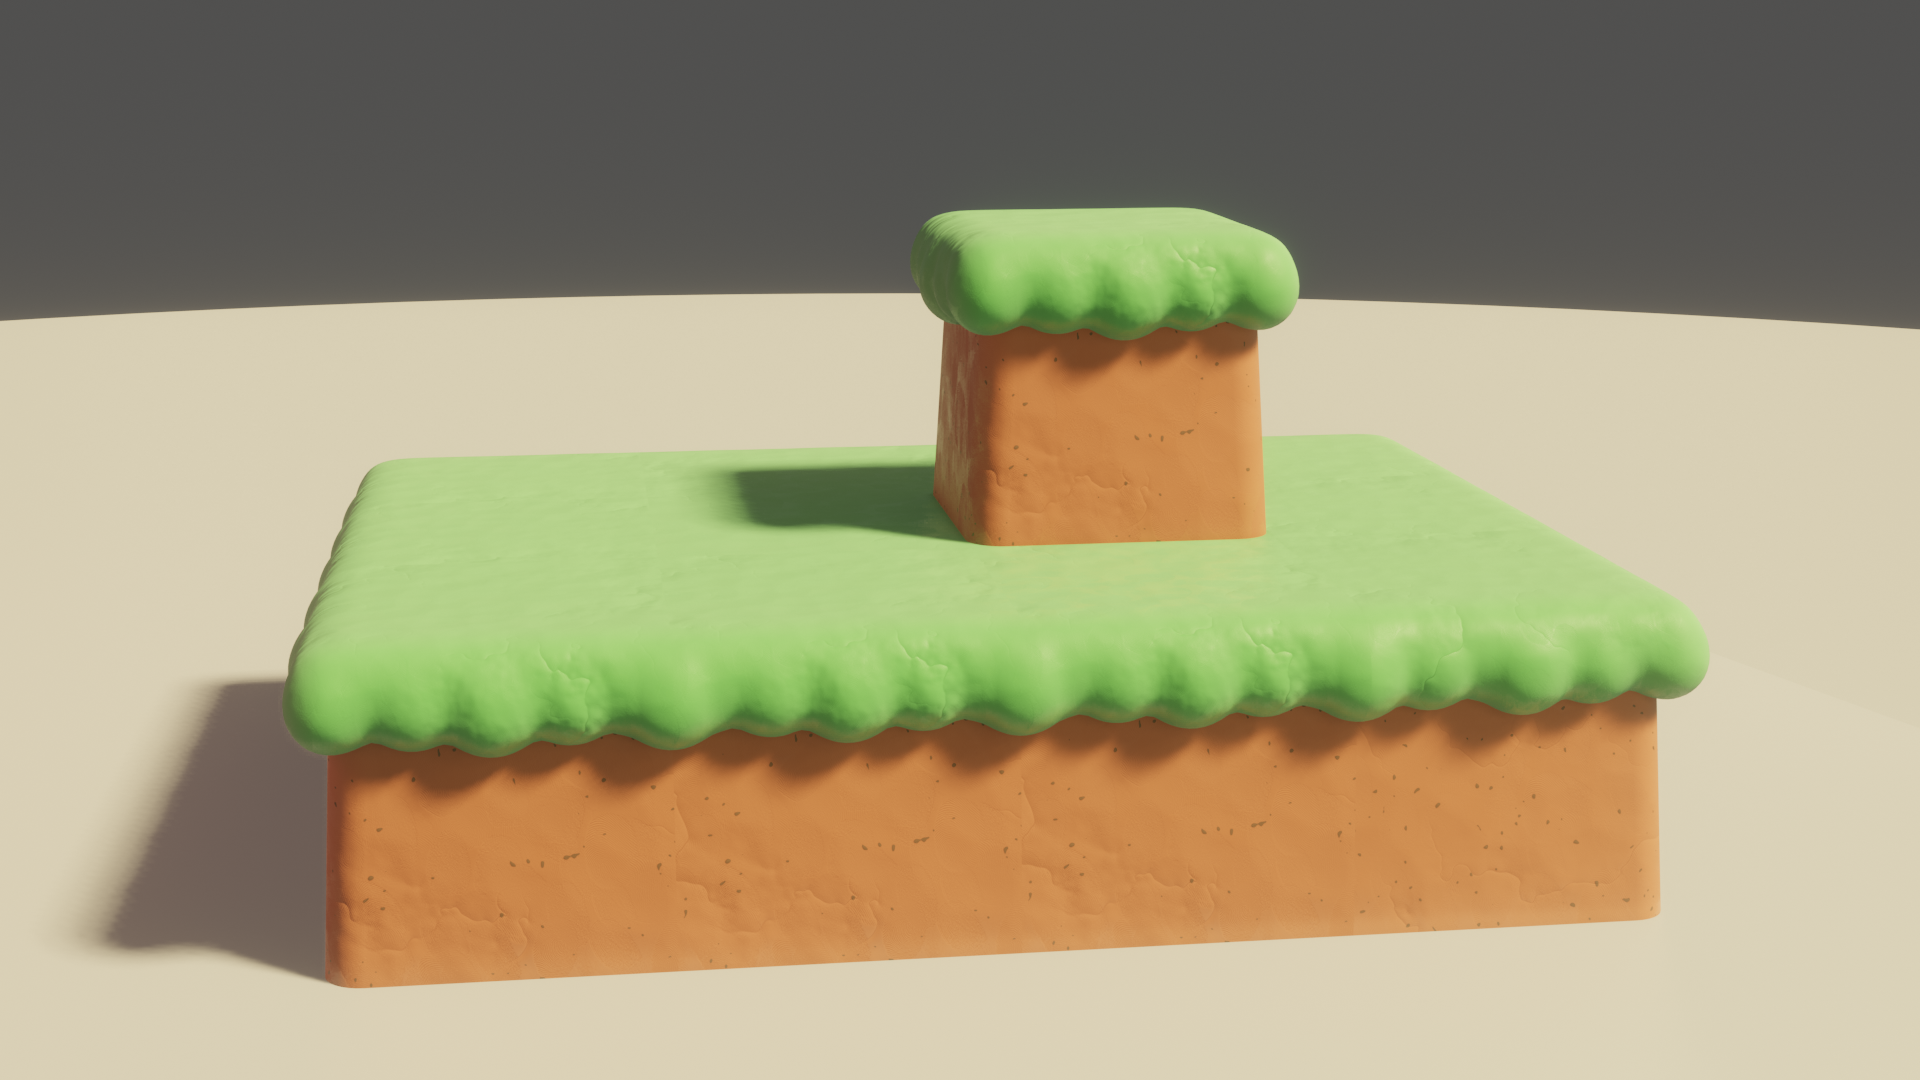
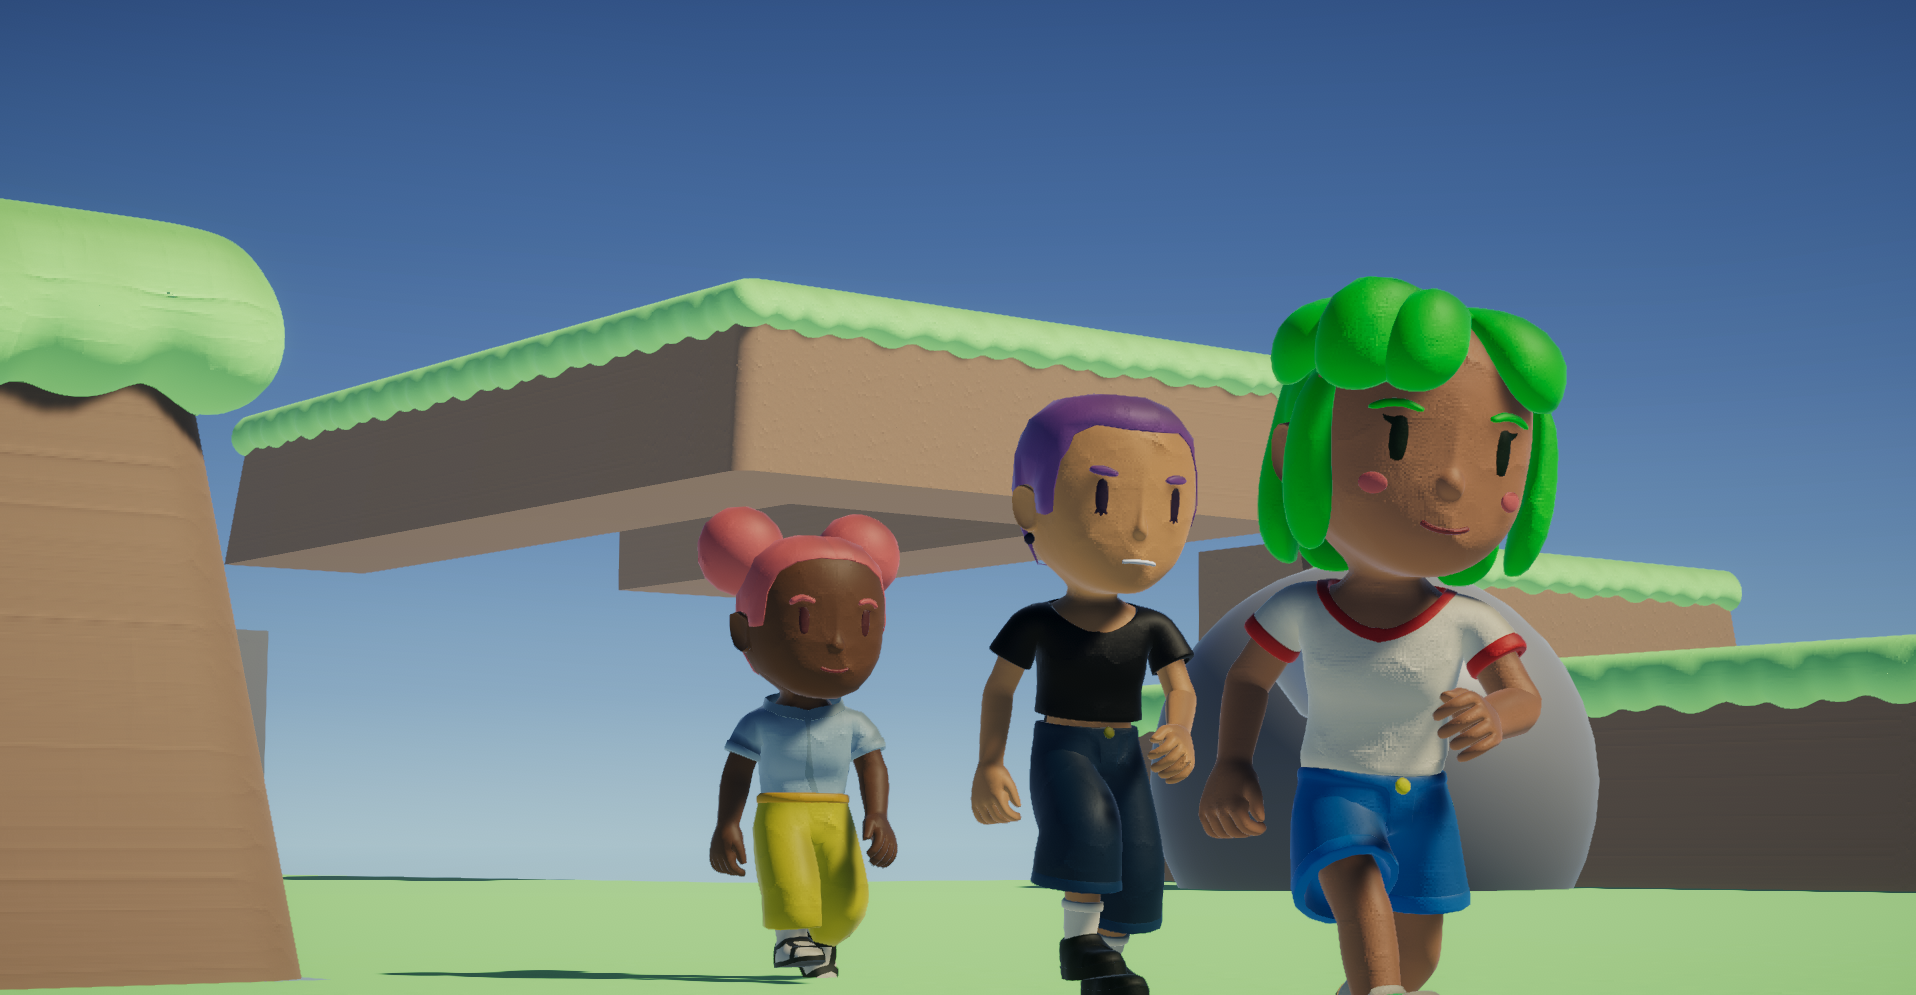
Nathan started making the first tilesets. So far just the start of the “Grassy Hill” town-area tiles. We’ve got them in Unity now and have recreated some of the level designs I made in Blender. It’s always pretty cool to see something that started as a sketch on paper come to life, even if it still has a long way to go. As we predicted/hoped, making these tiles has saved a lot of time but implementing them has raised some new problems. Nothing too major, we mostly just want to make even more tiles now and also create a system for drawing paths non-destructively over the tiles.
Nathan here! It’s been about three weeks now since our last update, and well, I’ve gotten about three weeks worth of work done, so there’s quite a bit to discuss.
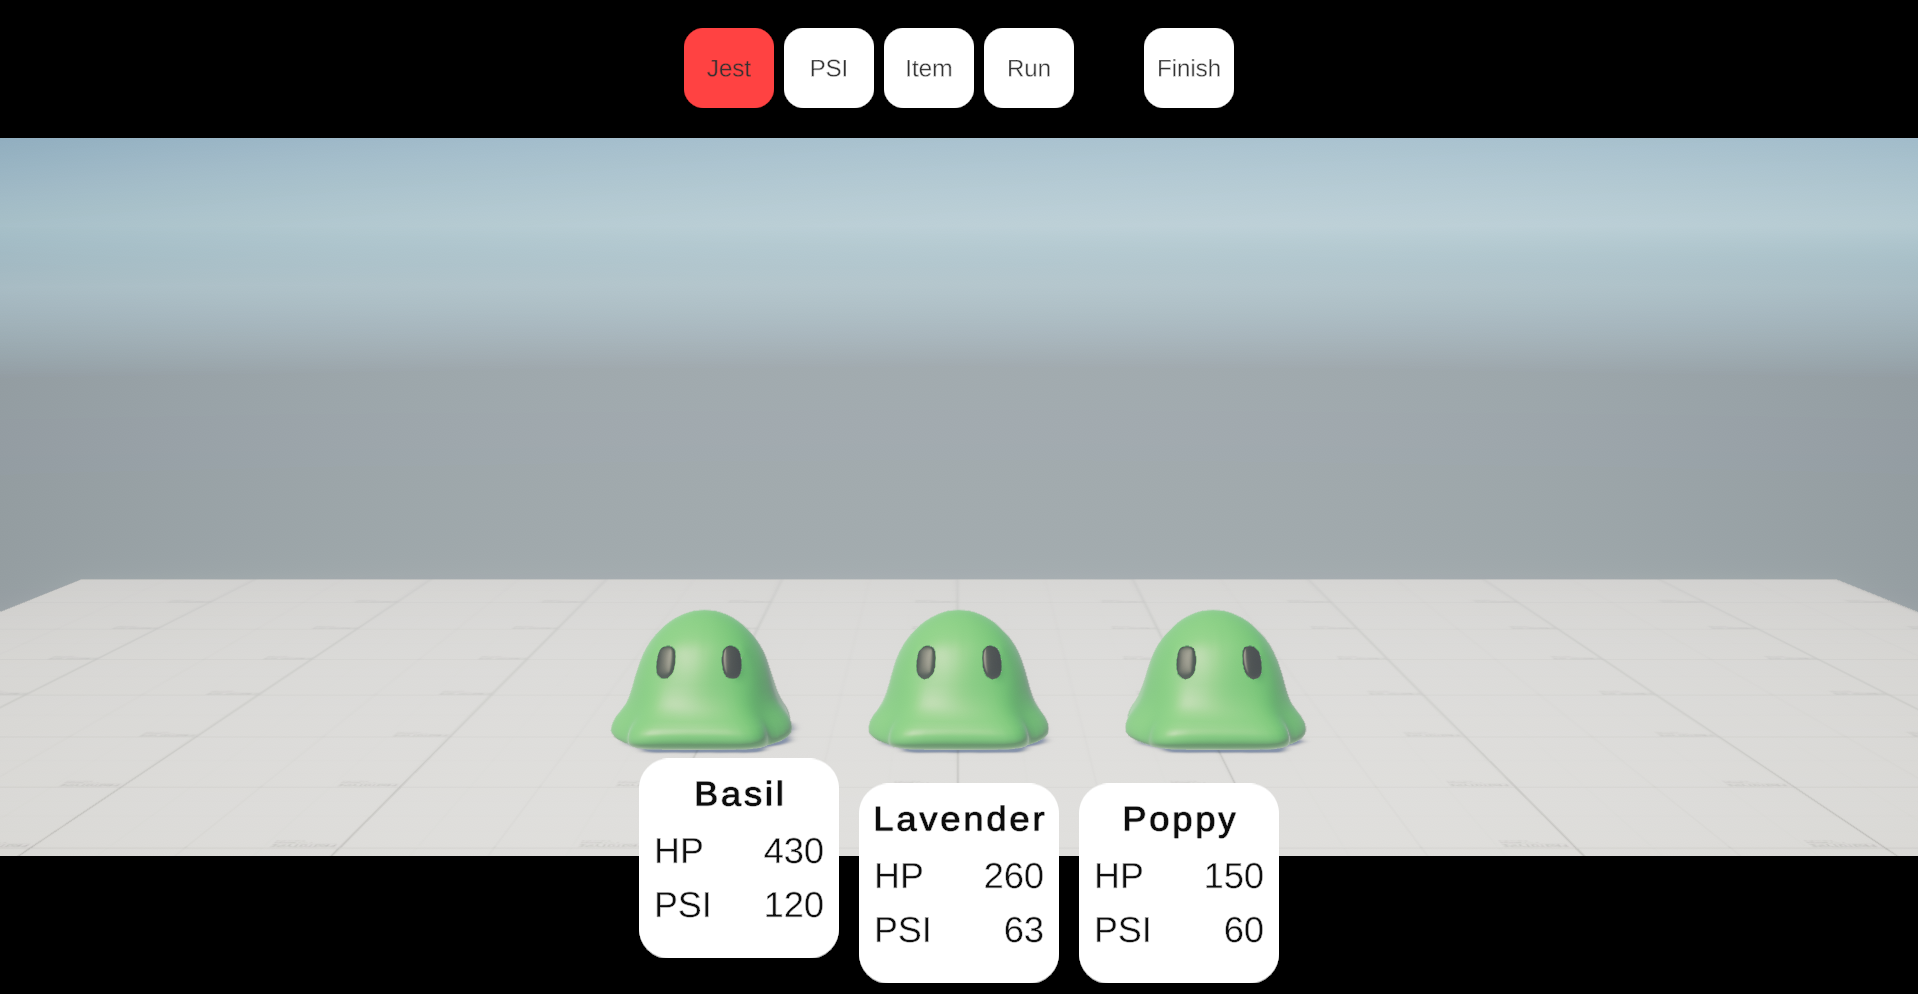
Wrapping up what I discussed in the last post, I set up the ‘fanfare’ for our encounters. Party members now level up, and have info displayed at the end of an encounter describing their stat changes (as well as money!)
Overworld Gameplay
I started on our overworld gameplay pretty much immediately afterwards. I got character movement implemented, which for our game involves a ‘party leader’ character, and a number of ‘party follower’ characters. We wanted the player to be able to swap the leader whenever they want, so one of my primary goals was to make the movement input abstracted from the actual movement code itself. This way we can ‘hot-swap’ movement inputs to swap the party leader very easily. I also set up a state machine for managing movement states.
Next I wanted to set up a back-end for interacting with objects and NPCs in the overworld. This pretty much boils down to a trigger collider with some code for filtering collisions and implementing interactions. We’ve used this to implement basically all of our interactions in the game, like picking up items on the ground, opening doors, and talking!
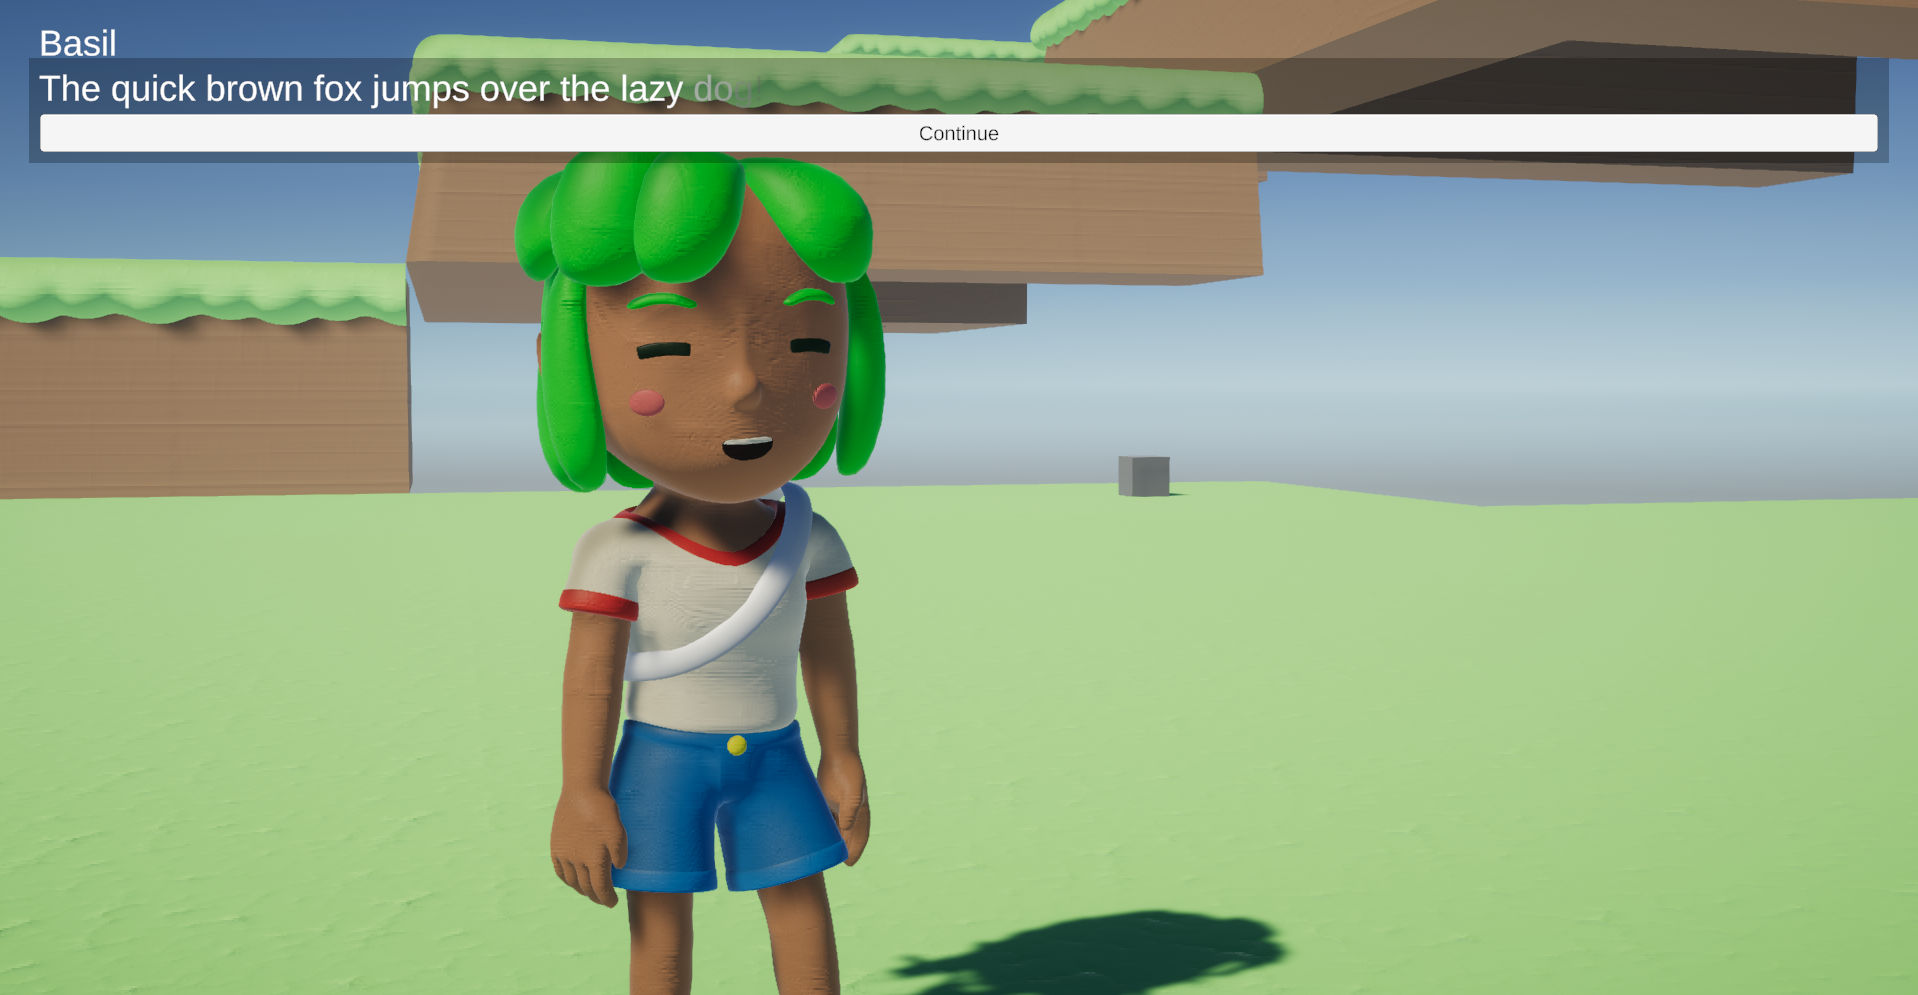
Dialogue
Which leads us to dialogue! I’ve been using YarnSpinner as a dialogue engine for Unity and it’s fantastic! For our dialogue we wanted to support quite a few features, like animated mouths, eyes, gesture animations, ‘emotes’, as well as things like having custom camera shots, and more! It’s quite a lot! I’ve gotten all of the previously mentioned features implemented already, and what’s really great is they are all implemented as custom commands I can write directly in the dialogue. How convenient!
Ethan and I have also been working on writing the dialogue that will be spoken by the characters in our little game world. We’ve been using screenplay formatting for doing that, and so far have really liked the whole process. There’s a couple modifications we’ve had to make, like handling gameplay descriptions and branching paths, but so far this system feels very nice and organized.
Scene Management
After tackling dialogue, our next big task was to set up a scene management process. From the get-go I knew that I wanted to utilize a custom scene reference class, so that way I could directly assign scene references in the inspector rather than using strings or integers that will almost definitely need to be changed later on. After finding a solution for that, I integrated it into my own ‘SceneDirector’ ScriptableObject. It wraps the functionality of Unity’s own SceneManager, and since it’s a ScriptableObject, I get the added benefit of restricting which classes have open access to it. Another added benefit is being able to create additional scene loading callbacks (like OnBeforeSceneLoad), and directly add support for things like scene transitions, and loading screens. Nice!
Along with scene loading and transitions, another (much larger in my opinion) problem to tackle was mapping doors in each scene from one to another. Here’s the problem: we have a typical JRPG town. There’s probably like 8 or 9 doors that will go to different scenes, and those scenes must also map back to the corresponding door in the village. Using scene build indices and ambiguous IDs would be a complete nightmare. I opted to utilize C#’s Guid object to give each doorway a unique ID that I could pass between scenes and then retrieve the attached doorway with. In conjunction with the scene reference code, this system has (so far) been extremely robust and I’m very happy with how it’s turned out. I’m so happy with it, in fact, that I’m hosting it as a separate open source repository!
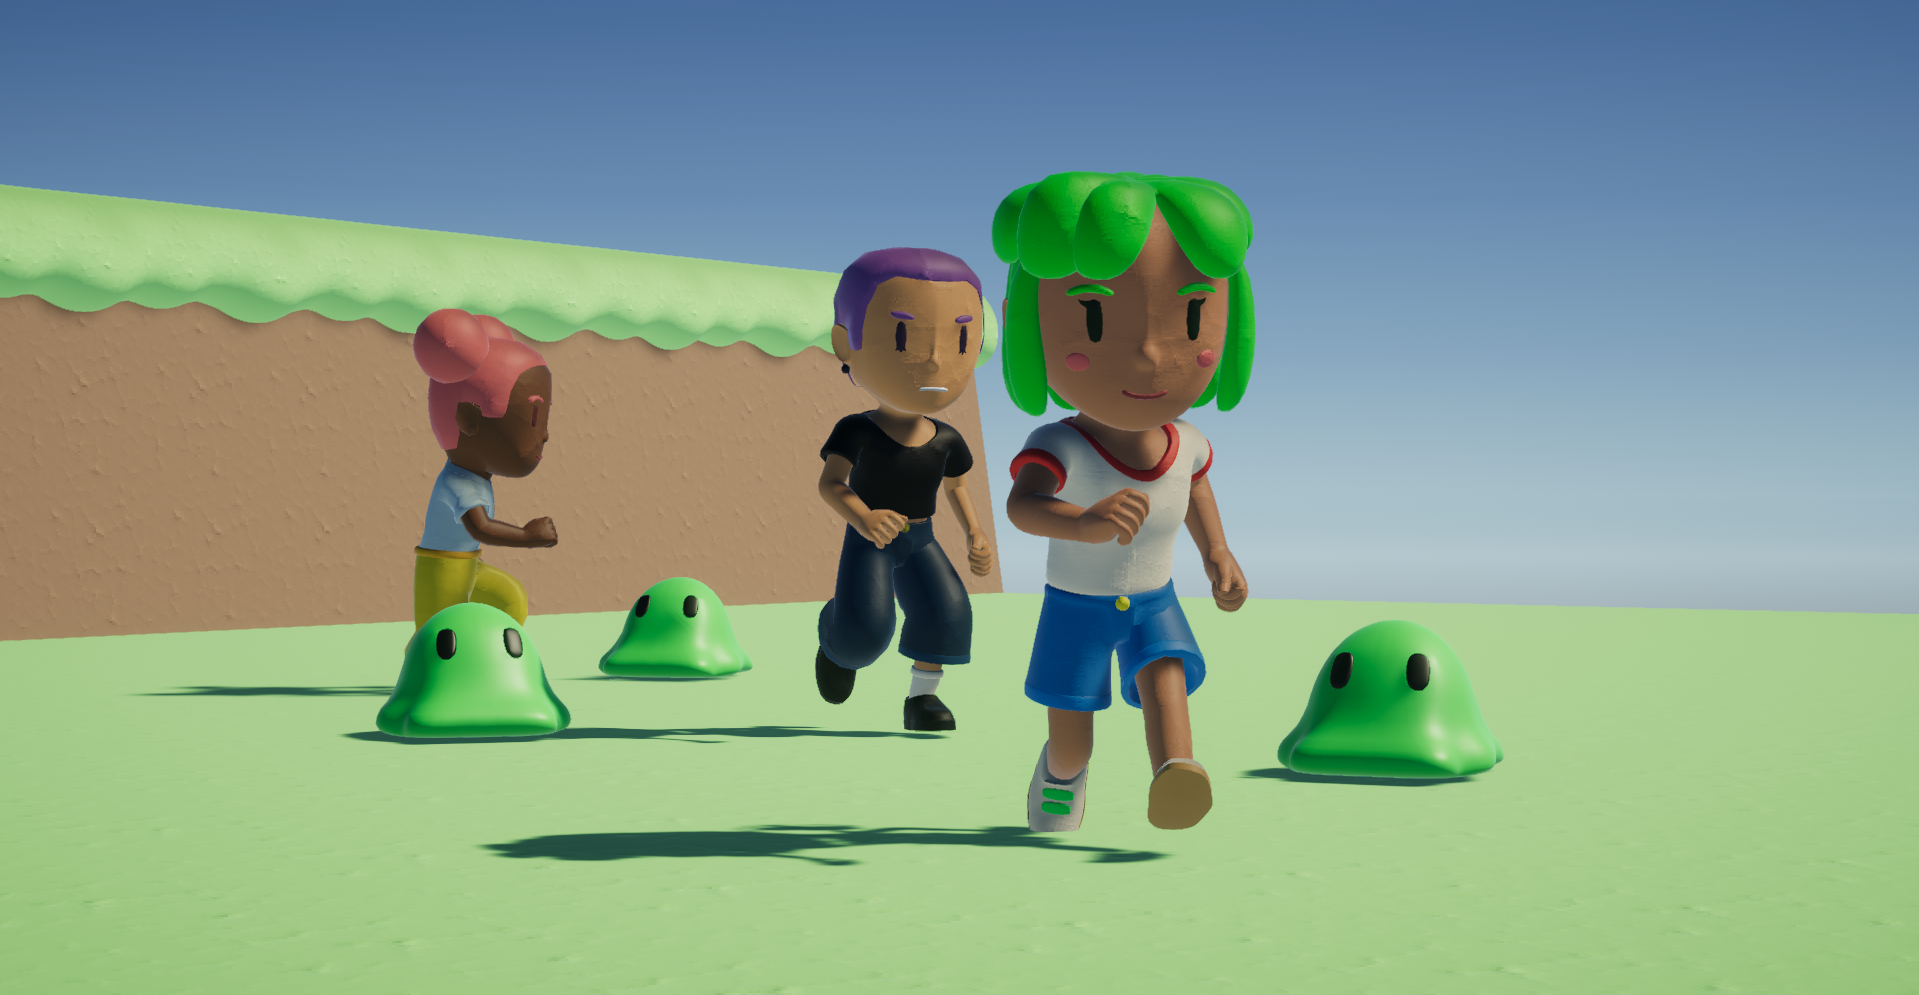
Enemies (In the Overworld!)
Don’t worry, we’re getting close to the end here! After getting all that scene stuff handled, I moved onto enemies in the overworld. I set up an enemy spawner, enemy movement, and the collision process that transitions from the overworld to the encounter scene. With enemies spawning and running around, I also set up the pipeline for sending encounter info to the encounter scene.
To (finally!) wrap up, I set up saving and loading for Dream Frontier. There’s quite a bit to save here: party data, inventory, equipment, and the less anticipated scene states and dialogue states. I’m still working on streamlining saving for the last two there (not really sure I want to modify the save file between every scene load…), but things are going well!
Keep an eye out for a new set of dev logs in the near future! Now that we’re in the groove of balancing schoolwork and game dev, we should be having these blog posts out every weekend. Also of note, for our Game Design and Development 2 class we’re making a networked multiplayer game. More specifically, we’re making COMBAT PINBALL, which is more or less pinball with guns. Expect more details on that project soon!
See you next week!
-Nathan & Ethan
Leave a comment
Log in with itch.io to leave a comment.